
How to Migrate Business Email Without Downtime
Learn how to migrate business email with a clear, low-risk plan for protecting mail, contacts, calendars, access, and daily operations safely at scale.
ACMMAX Insights ·
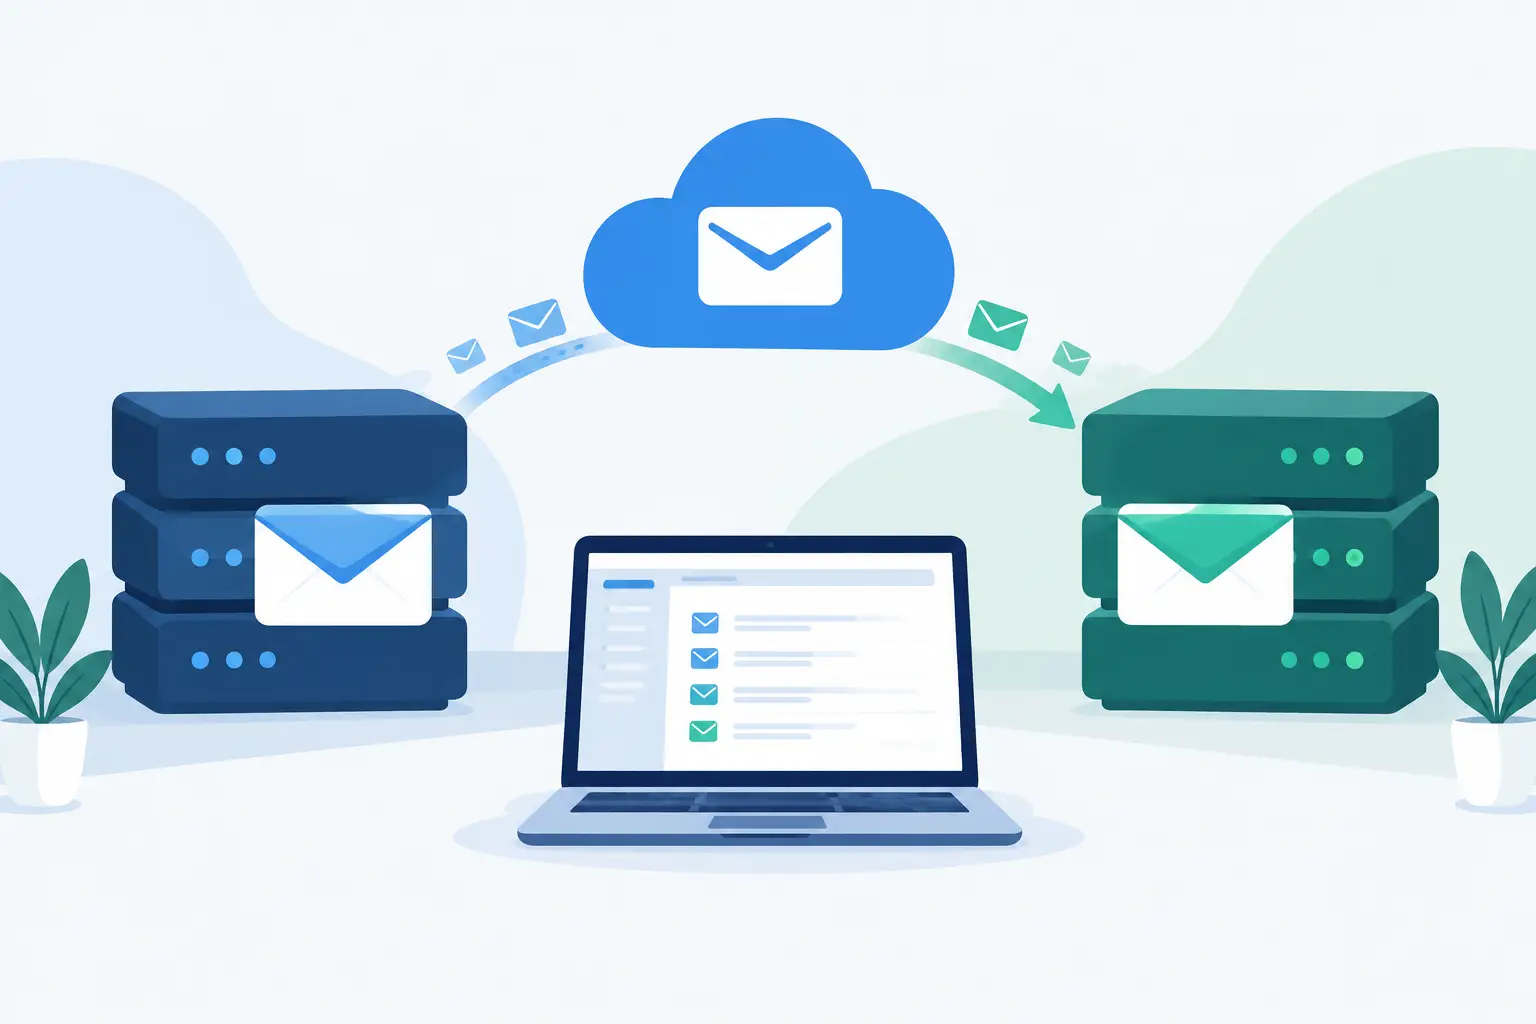
Email migration is one of those jobs that looks simple until an invoice, client request, or password reset disappears during the switch. Knowing how to migrate business email is not just about moving old messages to a new inbox. It is about protecting your domain reputation, preserving team access, and keeping the business moving while the technical work happens in the background.
For a small business, a clean migration can be completed in a day. For an agency, growing ecommerce store, or company with years of mail history, the project needs more planning. The goal is the same: move to a better email platform without lost mail, confused employees, or an expensive support problem.
Start With a Migration Inventory
Before you create a single mailbox at the new provider, document what exists today. This prevents the most common mistake in email migration: moving user inboxes while overlooking the systems that rely on them.
Record every active mailbox, shared inbox, alias, distribution list, forwarder, and administrator account. Include former employee accounts that must be retained for compliance or historical reference. Identify who uses email through a browser, desktop app, or mobile device, because each group may need different setup instructions after cutover.
Also review where your domain DNS is managed. Your email provider may change, but your domain controls the MX records that tell the internet where to deliver new mail. If the person handling the migration cannot access DNS, the entire project can stall at the last step.
Use this simple checklist to establish the scope:
- User mailboxes and storage sizes
- Shared mailboxes, aliases, groups, and forwarding rules
- Contacts, calendars, tasks, and address books
- Email clients, mobile devices, and third-party apps
- DNS access, current MX records, and existing email authentication
- Retention requirements and accounts that need long-term archives
This inventory also gives you a realistic view of cost. A five-user team with light inboxes is very different from a 40-person business with multi-gigabyte archives and multiple shared support addresses.
Choose the Right Migration Method
The best method depends on your current and new email platforms, mailbox size, and tolerance for disruption. There is no benefit in choosing the most technical route if a simpler one protects the business just as well.
For a few small mailboxes, manual export and import may be enough. Users can export mail from a desktop client and import it into their new account. This is low-cost, but it is labor-intensive and easy to handle inconsistently. It also may not carry over calendars, contacts, rules, or folder permissions correctly.
For most businesses, an IMAP migration is the practical choice. It copies messages and folder structures from the old server to the new server while both systems remain active. IMAP works well for standard email, but it usually does not migrate calendars, contacts, or task data. Those items need a separate export, import, or provider-supported migration process.
Larger teams should use a provider migration tool or a managed migration service. These tools can transfer mail in batches, track errors, run pre-cutover syncs, and perform a final sync after DNS changes. That visibility is worth paying for when email is central to sales, client delivery, or support.
Build the New Email Environment First
Do not change your domain MX records until the new environment is ready. Create each mailbox, shared address, group, and alias before the cutover window. Set appropriate storage limits, passwords, and administrator permissions from the start.
If you are consolidating infrastructure, this is also a good time to reduce vendor sprawl. A platform such as ACMMAX can keep domain services and branded business email under one account, making it easier to manage DNS and mailbox operations without jumping between disconnected dashboards.
Create a pilot group before deploying to the entire company. Include someone from operations, sales, finance, and customer support if possible. Their workflows will expose gaps that a technical test mailbox will not catch, such as a shared inbox used for vendor bills or a scanner that sends messages through SMTP.
Check every system that sends email using your domain. Website forms, WordPress notifications, accounting software, CRM automations, point-of-sale systems, security cameras, and marketing tools may all rely on SMTP credentials or an authorized sending address. If those settings are not updated, the migration may appear successful while critical notifications quietly fail.
How to Migrate Business Email in Phases
A phased migration gives you control. Rather than making one high-risk switch, you copy historical data first, test real workflows, then direct new mail to the new provider.
1. Lower DNS TTL Before Cutover
Your DNS TTL, or time to live, determines how long other servers may cache your DNS records. Lower the TTL on MX and related records 24 to 48 hours before the planned switch. A value such as 300 seconds can help the new routing take effect more quickly.
Do not lower TTL at the last minute. Existing DNS resolvers will continue using the older cached value until it expires. Planning ahead gives the change time to work as intended.
2. Run an Initial Data Sync
Copy existing email while the old service is still receiving new messages. This first sync can take hours or days depending on the number and size of mailboxes. Start early enough that large inboxes do not force you into a rushed cutover.
After the sync, verify more than the message count. Open mail from several years and folders, inspect attachments, search for known messages, and confirm sent mail appears where users expect it. If staff depend on contacts and calendars, validate those separately.
3. Configure SPF, DKIM, and DMARC
Email delivery is not complete when messages arrive. Your new service must also be authorized to send mail using your domain.
SPF identifies approved sending servers. DKIM adds a cryptographic signature to outgoing mail. DMARC tells receiving providers how to handle messages that fail authentication and gives you reporting visibility. Configure all three records based on your new provider's requirements, while preserving any legitimate senders such as your marketing platform or website server.
A rushed SPF update can break mail from other approved services. Review the full sending stack before publishing changes. If you already use DMARC enforcement, test carefully to avoid rejecting legitimate mail during the transition.
4. Change MX Records and Run a Final Sync
When the new mailboxes, authentication records, and pilot tests are ready, replace the old MX records with the new provider's values. Keep the old service active during the transition period. DNS propagation is usually fast after a TTL reduction, but not every sender updates at the same moment.
Run a final migration sync after the MX change. This captures messages that reached the old mailbox during the switchover window. Then send test messages from external addresses such as personal Gmail, Outlook, and another business domain. Test both incoming and outgoing mail, including replies and attachments.
5. Reconfigure Users Without Creating Chaos
Give employees a short, direct setup guide for webmail, desktop clients, and mobile devices. Include the exact login format, server details if needed, and a support contact. Avoid sending a technical manual to everyone if most of the team only needs a webmail login and a mobile setup step.
For a small team, a scheduled setup session is often faster than handling individual tickets all day. For agencies, create a repeatable client handoff process that includes credentials, DNS confirmation, device setup, and a signed-off test email.
Keep the Old Service Until You Verify Stability
Do not cancel the previous email service immediately after changing MX records. Keep it available for at least several days, and longer when mail volume is high or data migration took multiple passes. This gives you time to catch stragglers, retrieve any missed messages, and confirm that all applications are sending properly.
Monitor delivery failures, bounce reports, and user issues closely during the first week. Watch for forms that stop sending notifications, devices with outdated SMTP settings, and users who continue working from a cached desktop profile. These problems are usually manageable when found early.
A rollback plan matters too. Document the prior MX records and preserve administrator access to the old provider until the migration is formally complete. You may never need to revert, but a clear rollback path prevents a stressful outage from becoming a prolonged one.
Common Mistakes That Cost Businesses Time
The biggest errors are rarely advanced technical failures. They are operational oversights: changing DNS before mailboxes exist, forgetting shared addresses, assuming IMAP includes calendars, or canceling the old service too early.
Another frequent problem is treating email authentication as optional. Modern receiving providers increasingly reject or spam-filter poorly authenticated messages. A new mailbox platform should improve delivery, not create a situation where invoices and sales emails land in junk folders.
Finally, avoid making the migration a surprise. Tell employees when the change will occur, what they need to do, and where they can get help. Clear communication reduces downtime more effectively than adding another complicated tool.
A successful migration leaves your team with more than a new inbox. It gives the business a cleaner operating setup, stronger control over its domain, and an email system ready to support the next stage of growth.