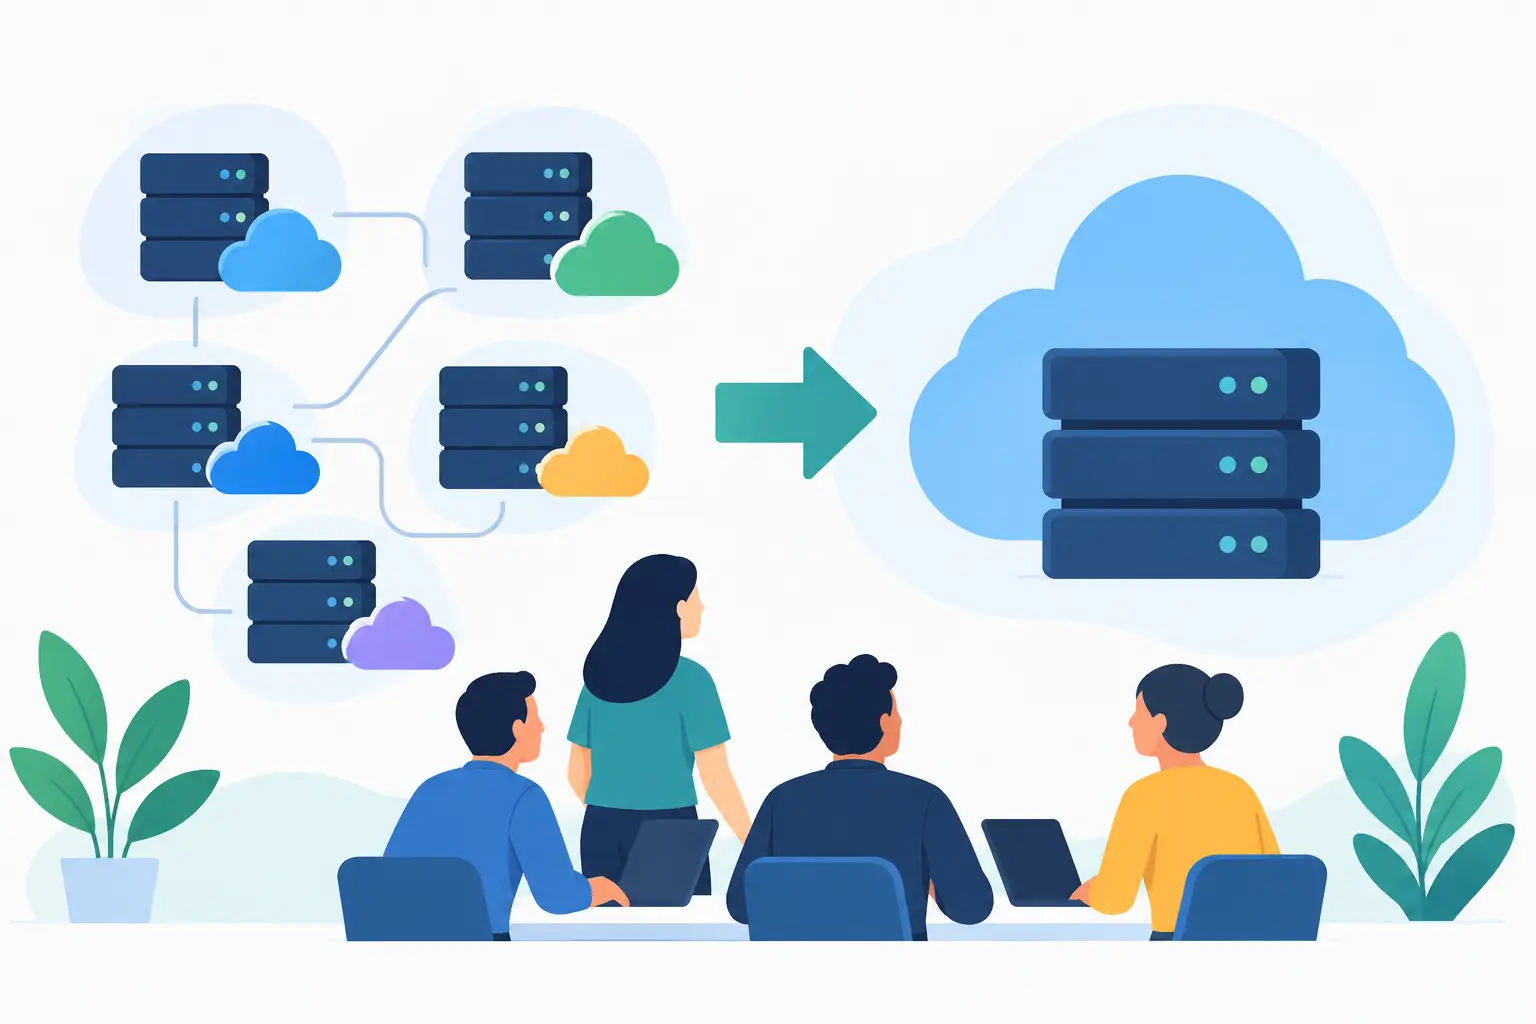
How to Deploy a Cloud Server in 7 Steps
Learn how to deploy a cloud server, secure it, connect your domain, and launch faster with a practical setup plan for small businesses and developers.
ACMMAX Insights ·
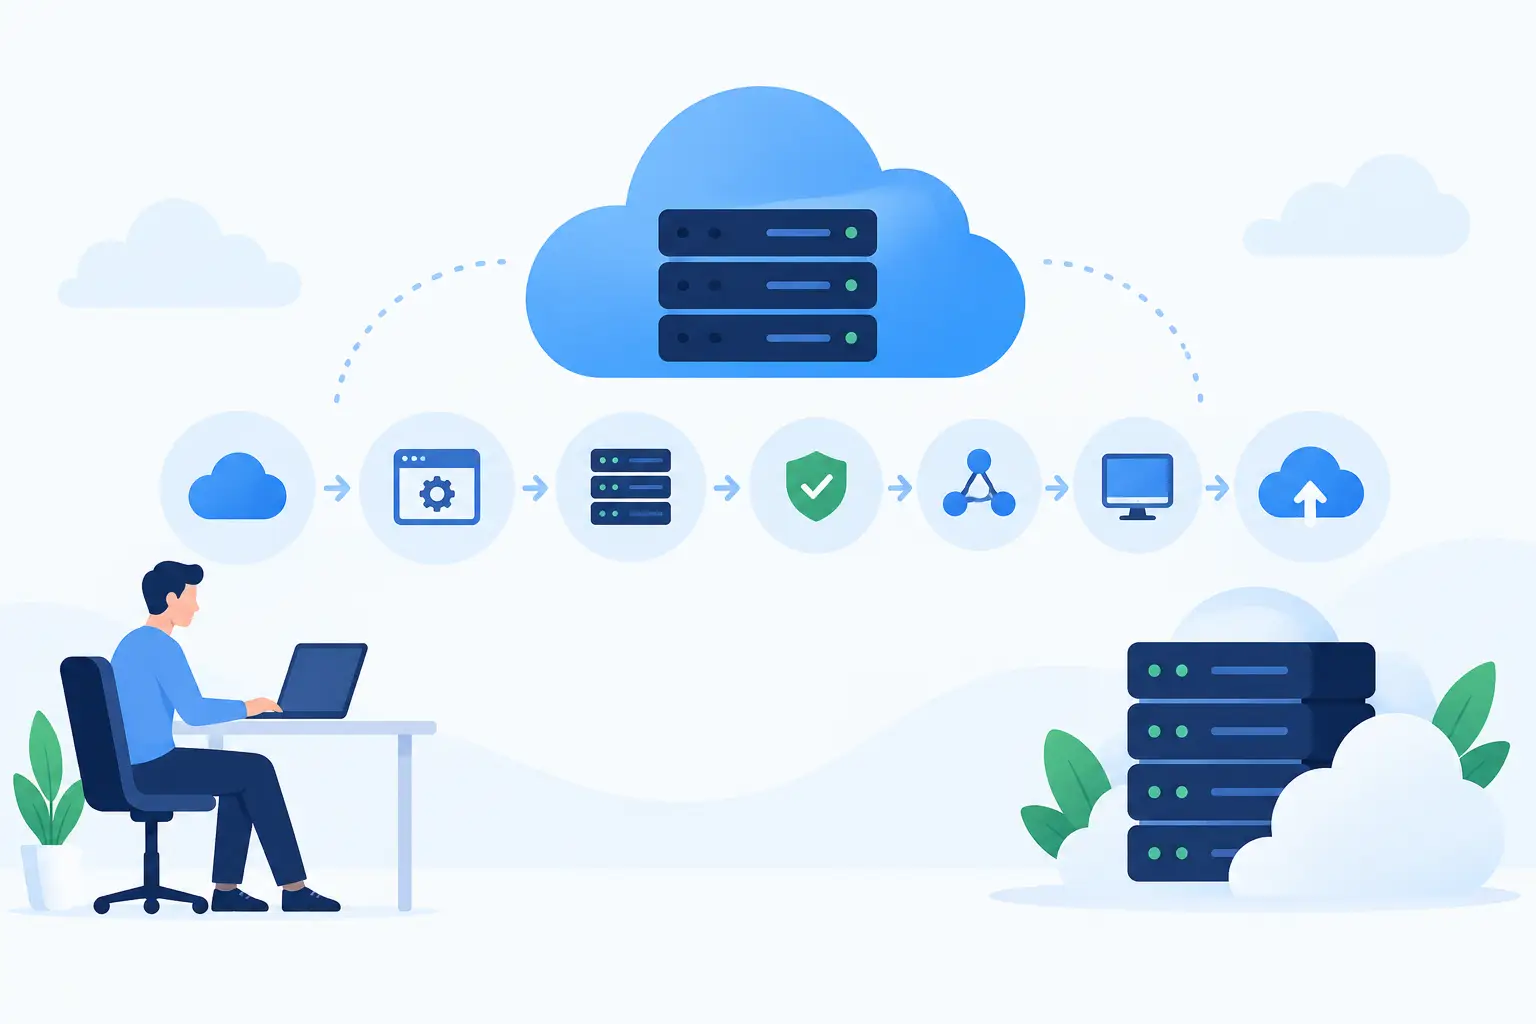
A cloud server should not take days of back-and-forth tickets, vague pricing, and manual provisioning to get online. Knowing how to deploy a cloud server gives you a direct path from an idea to a live application, website, API, or client environment - often in minutes. The key is making a few smart decisions before you click Deploy, then securing the server before real traffic reaches it.
How to Deploy a Cloud Server Without Wasting Resources
Cloud deployment is straightforward when you separate the work into three phases: choose the right virtual machine, configure access and software, then connect the server to the rest of your business stack. That could mean a domain, business email, object storage, a database, or a WordPress site.
For a new business website, you may only need a small Linux virtual machine with enough memory to run a web server and your application. For an agency managing client sites, a larger instance with room for staging environments and backups may be the better call. Do not pay for capacity you will not use on day one, but do choose a platform that lets you scale without rebuilding everything later.
1. Define what the server needs to do
Start with the workload, not the biggest plan available. A cloud server can host a company site, ecommerce store, internal tool, game server, CRM integration, VPN, containerized app, or development environment. Each workload has different CPU, RAM, storage, bandwidth, and security needs.
A simple brochure website or small WordPress installation can often begin with modest resources. A store with high traffic, a database-heavy application, or a server running multiple client projects needs more memory and faster storage. If you are running Docker containers, leave headroom for the operating system and background services rather than allocating every available gigabyte to the containers.
Write down four requirements before choosing a plan: expected traffic, application stack, storage growth, and whether downtime would affect sales or operations. This prevents the common mistake of deploying a cheap instance that is immediately underpowered.
2. Choose the region, operating system, and server size
Select a server region close to the people or systems using it. A US-based audience usually benefits from a US data center, while a globally distributed application may need a CDN, replicated services, or multiple regional deployments later. Server location affects latency, but it is not the only factor. Data residency requirements, compliance obligations, and the location of your database also matter.
For most web workloads, Ubuntu LTS is a practical default because it has broad community support and predictable security updates. Debian is also a strong lightweight option. Choose Windows Server only when your application requires Microsoft-specific software, .NET Framework dependencies, or a Windows-based management environment.
Size the virtual machine based on real use. CPU handles processing work, RAM supports applications and caching, and SSD storage holds the operating system, code, logs, uploads, and databases. A smaller plan is a sensible starting point for a new project if upgrades are quick and pricing is transparent. Pay-as-you-go infrastructure is especially useful when traffic is uncertain or a client project is still being validated.
3. Create the instance and set secure access first
In your cloud dashboard, create a new virtual machine, select the image, region, and plan, then assign a clear name such as store-production or agency-client-a-staging. Good naming matters once you operate several projects. It makes billing, access reviews, and troubleshooting much easier.
For Linux servers, use SSH key authentication instead of relying only on a password. Generate a key pair on your local computer, add the public key during deployment, and store the private key securely. If your team needs access, give each person an individual key. Shared credentials make it difficult to remove access when a contractor or employee leaves.
As soon as the server is online, log in and create a non-root user with administrative privileges. Then disable direct root login and password-based SSH access if your workflow supports it. This is one of the fastest ways to reduce exposure to automated login attempts.
4. Update the operating system and configure a firewall
A new server image is only a starting point. Run system updates immediately, including security patches. On Ubuntu, this generally means updating package lists and applying available upgrades before you install your application stack.
Next, configure a firewall with a default-deny approach. Allow only the ports your server actually needs. A standard website normally requires port 80 for HTTP and port 443 for HTTPS. SSH commonly uses port 22, though changing the SSH port can reduce noise from automated scans. Restrict administrative access by IP address when practical, especially for control panels, databases, or private APIs.
Avoid opening database ports to the public internet unless there is a specific technical reason and you have strong controls in place. A database should usually communicate with your application over a private network or through narrowly restricted rules. Convenience is not a reason to expose critical services.
5. Install the application stack that matches your project
Now install the software your workload requires. For many websites, that means Nginx or Apache as the web server, a runtime such as PHP, Node.js, or Python, and a database such as MySQL or PostgreSQL. For a container-based deployment, install Docker and define services in a compose file so the environment can be reproduced.
Keep the initial stack focused. Installing multiple control panels, unnecessary services, and experimental packages creates more update work and a larger attack surface. If you need a managed WordPress environment rather than server-level control, managed hosting can be the faster option. A virtual machine is better when you need custom software, special configurations, containers, or full administrative control.
ACMMAX is built for operators who need that flexibility while keeping cloud infrastructure, domains, email, storage, and website tools under one account. Centralizing these services can reduce the time spent switching dashboards and tracking separate renewals.
6. Point your domain and enable HTTPS
A server is not ready for customers until the domain resolves correctly and the connection is encrypted. First, assign a static public IP address if your provider offers one. This keeps the address from changing when the server restarts or is redeployed.
In your domain DNS settings, create an A record that points the root domain to the server IP. Create another record for www if you plan to use it, then decide whether the primary version of your site will include www or not. Redirect the alternative version so search engines and visitors see one consistent address.
Once DNS propagation is complete, install an SSL certificate and configure your web server to redirect HTTP traffic to HTTPS. Test the site from a mobile connection as well as your office network. DNS changes can appear quickly in one location and take longer elsewhere.
7. Add monitoring, backups, and a recovery plan
Deployment is not finished when the homepage loads. You need to know when the server is unavailable, running out of disk space, or consuming unusual CPU and memory. At a minimum, monitor uptime, disk usage, memory use, and application logs. Set alerts to an inbox or communication channel someone actually checks.
Backups should be automatic, encrypted where possible, and stored separately from the primary server. A backup on the same virtual machine is useful for quick restores, but it will not protect you if the instance is deleted, corrupted, or compromised. Use off-server backups and test a restore before you need one.
For production applications, document the basics: server IP, DNS records, deployment commands, administrator access process, backup location, and rollback steps. This small document can save hours during an outage or when a new developer joins the project.
Common Cloud Server Deployment Mistakes
The fastest deployments can still create expensive problems when a few basics are skipped. One mistake is choosing a server based solely on the lowest monthly price, then discovering it cannot handle traffic spikes or database load. Another is building directly on the server without version control, which makes changes difficult to repeat or reverse.
Security shortcuts are equally costly. Public database ports, weak passwords, unpatched packages, and shared root access turn a simple server into an easy target. There is also a business risk in ignoring backups until a plugin update, failed deployment, or accidental deletion forces a recovery.
For simple sites, consider whether managed hosting will deliver the result faster. For custom applications and agencies that need isolated environments, scheduled jobs, APIs, or container workloads, a cloud virtual machine offers more control. The right choice depends on how much infrastructure management your team wants to own.
A well-deployed cloud server creates room to grow without creating operational drag. Start small, secure the foundation, document the setup, and make every next launch easier than the first.